


For electric bike enthusiasts, cruising through city streets or tackling rugged trails on your trusty ebike for adults is an exhilarating experience. But worn-out brake pads can quickly turn your joyride into a safety hazard. This guide will equip you with the knowledge and steps to replace your e-bike's brake pads, ensuring smooth and secure rides for every adventure.

Safety First:
Always refer to your Fiido e-bike's manual for instructions before tinkering with its brakes. Remember to wear protective gear like gloves and safety glasses to prevent injury.
Gathering the Tools:
- New brake pads (compatible with your e-bike model)
- Allen wrench or hex key
- Torx wrench (if required)
- C-clamps or brake pad spacers (optional)
Step 1: Removing the Wheel
You usually have to take the wheel off first to get to the brake caliper on your electric commuter bike for maintenance. For specific directions on how to loosen the nuts or quick-release device that holds the wheel in place, check the manual that came with your e-bike. After removing the wheel, put it somewhere else for the next step.
Step 2: Farewell, Old Brake Pads
It's time to remove the old brake pads on your adult e-bike. Be careful not to strip the caliper nuts as you use your Allen wrench or hex key to loosen them. Carefully remove the old brake pads from the caliper, keeping track of where they are and which way they are facing. This will help you put the new pads on the right way. Be careful when you touch the pads because they can be broken.
Step 3: Keeping Your Electric Commuter Bike Clean
After removing the old brake pads, check the brake caliper and rotor for dirt or rust. Clean the area with a soft brush and gentle soap to ensure dirt and grime don't affect how well your electric commuting bike works. To keep things running smoothly and safely, this step is essential.
Step 4: Welcoming the New Brake Pads
Now it's time to put the new brake pads on your adult e-bike. Make sure the balance is correct by following the directions from the maker. Tighten the caliper bolts well, but don't go too far. If you do, you could damage the brake pads or the caliper. Ensure the brake pads are correctly put so your electric commuting bike can stop safely and reliably.
Step 5: Reassemble and Test
After putting on the new brake pads, put the wheel back on and test the brakes. Check to see that they work evenly and efficiently and show no damage or wear. Take the instructions with your e-bike or ask a professional tech for help.

Tips for Maintaining Your E-Bike's Brakes
Regular brake pad inspection and replacement are crucial for your safety on the road. Here are some detailed tips to keep in mind:
1. Check brake pads every 500-1000 miles or 3-6 months, depending on your riding frequency and conditions.
2. Look for signs of wear, such as:
- Thinning pads (less than 1.5mm thick)
- Excessive squealing or grinding noises
- Vibration or pulsation when applying brakes
3. Replace brake pads in pairs to maintain even braking performance and prevent uneven wear.
4. Clean and lubricate brake components regularly, including:
- Brake caliper and pivot points
- Brake lever and cable
- Brake pads and rotors
Choosing the Right Brake Pads for Your Electric Commuter Bike
Selecting the right brake pads can be overwhelming, but here are some detailed factors to consider:
- Riding style:
- Aggressive riders: Sintered pads for better stopping power and heat dissipation
- Casual riders: Organic pads for quieter operation and lower cost
- Terrain:
- Hilly or mountainous terrain: More durable pads with better heat dissipation
- Flat terrain: Standard pads suitable for most riding conditions
- Weather:
- Wet or humid conditions: Pads with better water clearance and corrosion resistance
- Dry conditions: Standard pads suitable for most riding conditions
Safety Gadgets when changing your brake pads
- Protective Gear: Always wear gloves to prevent cuts and abrasions. Safety glasses are essential to shield your eyes from potential debris or brake fluid splashes.
- Proper Ventilation: When working with brake fluids or cleaning agents, ensure you're in a well-ventilated area to avoid inhaling harmful fumes.
- Avoid Contamination: Never mix different brake fluids, as this can lead to chemical reactions and damage your braking system. Stick to the recommended fluid type for your e-bike.
Upgrading Your Electric Commuter Bike's Brakes
Benefits
1. Improved Stopping Power: Upgraded brakes can provide shorter stopping distances, especially in emergency situations.
2. Enhanced Heat Dissipation: High-quality brake pads and calipers can handle the increased heat generated by e-bikes, preventing brake fade and ensuring consistent performance.
3. Increased Durability: Upgraded components are often made from more durable materials, reducing the need for frequent replacements and maintenance.
4. Peace of Mind: Knowing that your brakes are in top condition can give you greater confidence and peace of mind while riding.
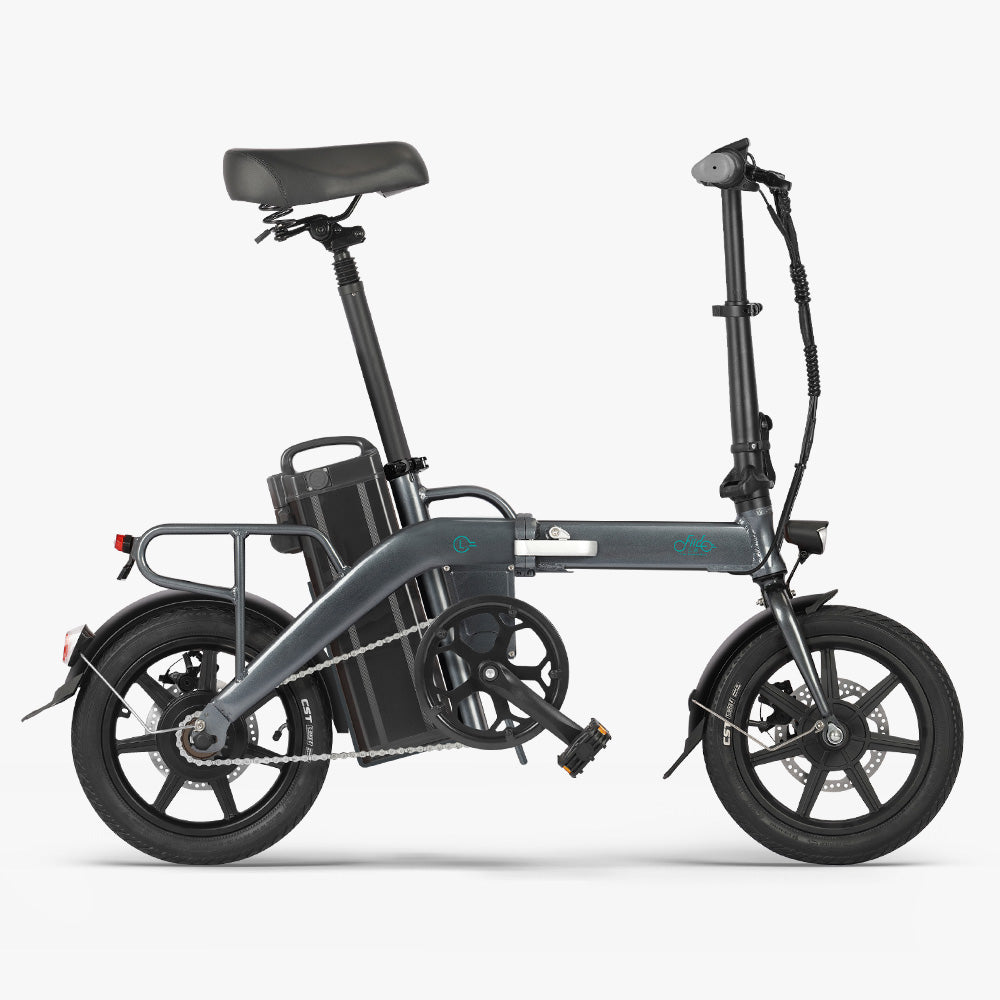
Fiido L3 Long Range Electric Bike
Longest range folding electric bike under $1000.
Choosing the Right Upgrade
1. Riding Style: Consider your riding style. Aggressive riders who frequently tackle hills or off-road trails may benefit from high-performance brake pads and calipers. Casual riders may be satisfied with standard upgrades.
2. Terrain: The terrain you ride on can also influence your brake upgrade choices. For example, if you frequently ride in wet or muddy conditions, you may want to consider brake pads with better water clearance.
3. Budget: Upgrading brakes can vary in cost. Set a budget and research available options to find the best fit for your needs and financial constraints.
Installation and Testing
1. Follow Manufacturer Instructions: Always adhere to the manufacturer's instructions for your specific brake upgrade kit.
2. Proper Alignment: Ensure that the brake pads and calipers are aligned correctly to prevent uneven wear and braking performance issues.
3. Testing: After installation, thoroughly test your brakes to ensure they are functioning properly. Check for any unusual noises, vibrations, or uneven braking.
Conclusion:
This article tells you how to change the brake pads on your adult e-bike, step by step. It tells you what tools you'll need, how to keep yourself safe, and how to take off the wheel, clean the brake pads, and put the wheel back on. The piece also tells you how to pick the right brake pads, keep your brakes in good shape, and maybe even upgrade your brake system for better safety and performance. If you follow these tips, you can make sure that the brakes on your e-bike are in great shape so that you can ride safely and enjoyably.
Friendly reminder: Be careful when replacing the brake pads of an electric bicycle. Please refer to the vehicle manual or seek help from a professional technician to ensure the normal operation of the brake system and riding safety.


